Short nails and Christmas designs get along better than you'd think. The trick is to pick a motif that still reads at arm's length on a small nail: one solid festive color, one accent finger, a few dots. Below are six looks you can show your nail tech or recreate at home, with the tool each one needs and the one step that's easy to get wrong.

Which Christmas design suits short nails?
On a short nail you have maybe a centimeter of canvas, so details shrink fast. A rough rule we use at the manicure table:
- Solid color (red, deep green) works on every length and shape. Zero risk.
- One accent nail (glitter, stripes, a snowflake) keeps the look festive without crowding the hand.
- Small repeated details (dots, thin stripes) read better than one big picture. A full tree or a reindeer face gets lost on a short nail.
On round or squoval nails, put the detail on the center of the nail rather than near the side walls, where the curve hides it.
6 simple Christmas nail designs for short nails
1. Glossy cherry red
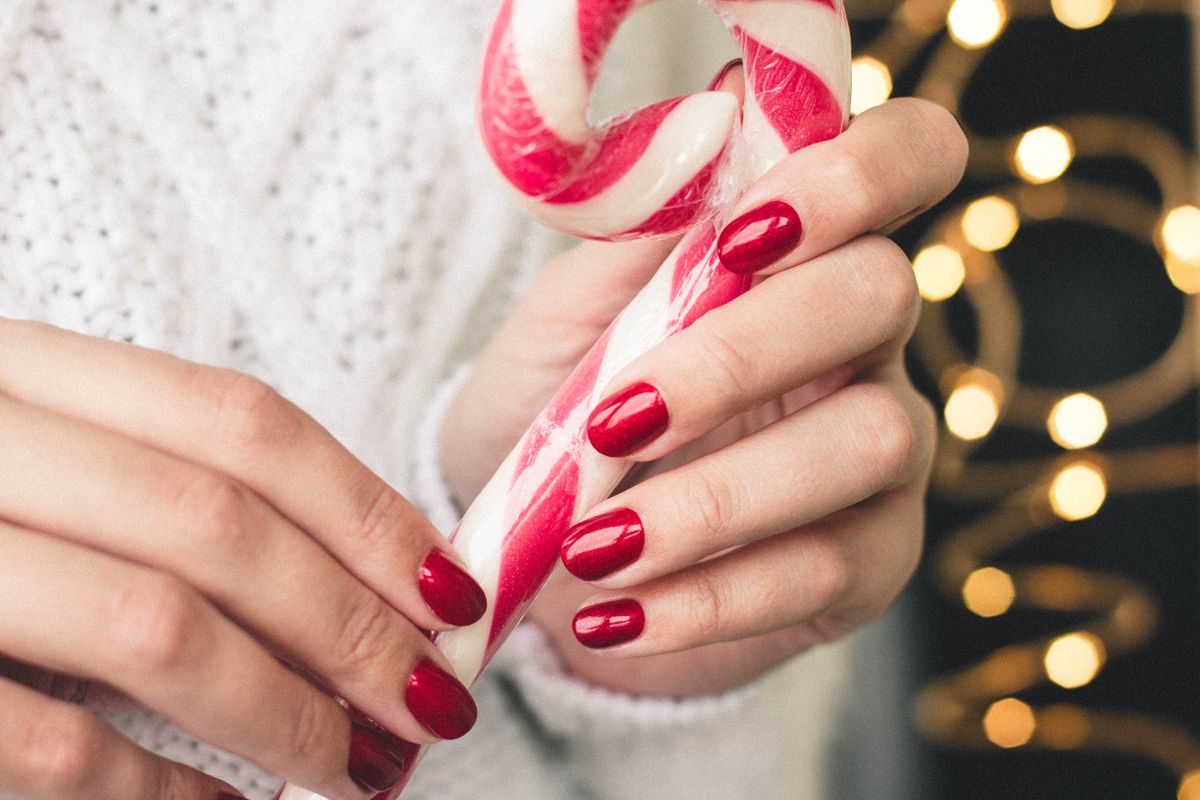
The easiest Christmas manicure there is, and still one of the best. A cherry red with a slight blue undertone flatters cool skin tones and silver jewelry; a warmer brick red suits gold.
Tool: just the polish brush. The tricky part: the cuticle line. Press the brush down so it fans out, then push it gently toward the cuticle and pull back to the tip. Two thin coats, not one thick one.
2. Bottle green with a gold glitter accent

Deep green looks like a Christmas tree in a good hotel lobby. Add gold on one finger (ring finger is the classic choice) and you're done.
Tool: a glitter polish, or loose fine glitter pressed into a sticky top coat. The tricky part: glitter shows the free edge, so run the brush along the tip of the nail to seal it. That stops the gold from chipping by the 26th.
3. Candy cane stripes on one finger

Stripes on every nail can look like a costume. On one or two fingers they're cheerful and still grown-up.
Tool: striping tape or a long, thin liner brush. The tricky part: paint a white base first and add the red stripes on top. Red on white looks crisp; white on red usually needs two passes and turns pink.
4. Santa and tree accent nails
Same photo as above, other hand. The Santa face and the little tree each sit on a single nail, and the rest of the hand stays plain or striped. That's the secret with picture designs on short nails: one per hand is plenty.
Tool: a dotting tool and a fine brush, or water-slide decals if freehand isn't your thing. The tricky part: keep the motif small and centered. A tree is just a green triangle with a gold dot on top; you don't need branches.
5. Red and green with a white snowflake

Alternate red and green across the hand, then add one small white snowflake on a red nail. It's festive from a distance and pretty up close.
Tool: a dotting tool or a toothpick, plus white polish. The tricky part: the snowflake. See the step-by-step just below.
6. Peppermint swirl with snowy dots

A deep red base, one peppermint swirl and one nail scattered with white dots like falling snow. The dots are the part that translates best to short nails.
Tool: a dotting tool in two sizes. The tricky part: spacing. Leave at least a dot's width of red between dots so the base stays visible; if they touch, they merge into a blob.
Easy snow dots with one tool
If you only learn one Christmas design for short nails, make it this one. You need white polish and a dotting tool (a toothpick or the head of a pin pushed into a pencil eraser works too).
- Paint a dark base, navy, bottle green or deep red, and let it dry completely (or cure it, if you use gel).
- Put a drop of white polish on a piece of foil. Dip the tool once for each dot.
- Place three bigger dots first, in a loose triangle. Keep them away from the cuticle and the side walls.
- Fill the gaps with five or six smaller dots. Re-dip for each one, or they'll get smaller as you go (sometimes that's nice, but do it on purpose).
- Leave about a third of the base showing. That empty space is what makes it look like snow and not polka dots.
- Wait until the dots are dry before the top coat, and float the top coat on without pressing, so the dots don't smear.
For a snowflake, draw a small plus sign, then an X through it, and finish each arm with a tiny dot.
When should you do your holiday manicure?
Ideally 2–4 days before Christmas Eve. Gel polish has time to settle, and if something goes wrong you still have time to fix it. Doing your nails a week early means visible regrowth by New Year's Eve. If you're planning a separate manicure for New Year's, aim for December 21–22.
Keep it lasting through the holidays
Baking, peeling vegetables, washing mountains of dishes: the holidays are tough on a manicure. Wear gloves when washing up and when handling beets. Beet juice can stain light polish, especially matte top coats, and so can turmeric and red cabbage.
Want something less festive for the weeks around Christmas? Our winter nail colors guide has navy, milky white and chocolate looks that work all season. And for everyday shapes and colors, see more ideas for short nails.
Frequently asked questions
What Christmas nail design is easiest on short nails?
A solid glossy red or bottle green, or snow dots on a dark base. Both need only one tool and look neat on any short shape.
How many days before Christmas should I get gel nails?
Two to four days before Christmas Eve. That way your nails stay fresh through the holidays, and if something chips you'll have time to fix it.
Can I do Christmas nail art with regular polish?
Yes. Dots, taped stripes and glitter all work with regular polish. It dries more slowly, so wait between coats and seal everything with a quick-dry top coat.
Comments (0)
Add a comment